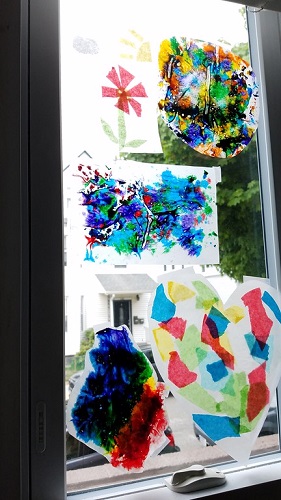
Making wax paper stained glass is fun because you can design it however you want, as long as you have two pieces of wax paper, and something sandwiched in between them before you iron the wax paper. You can create pictures or abstract art. Any size is fine. Have fun, and ask your grown up for help when it is time to use the iron!
Materials required for these crafts:
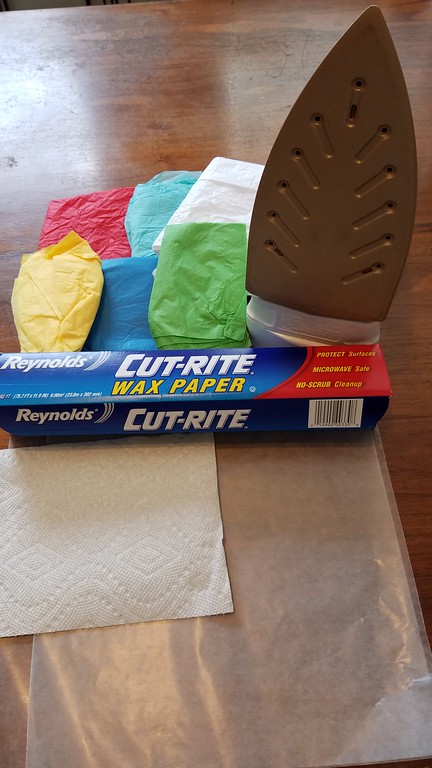
- Wax paper
- Iron & ironing board
- Scissors
- Colored tissue paper
- Crayons
- Mechanical pencil sharpener
Tissue Paper Stained Glass
Cut a piece of wax paper off the roll. It can be as large or as small as you want. Cut this sheet of wax paper in half so that you have two pieces.
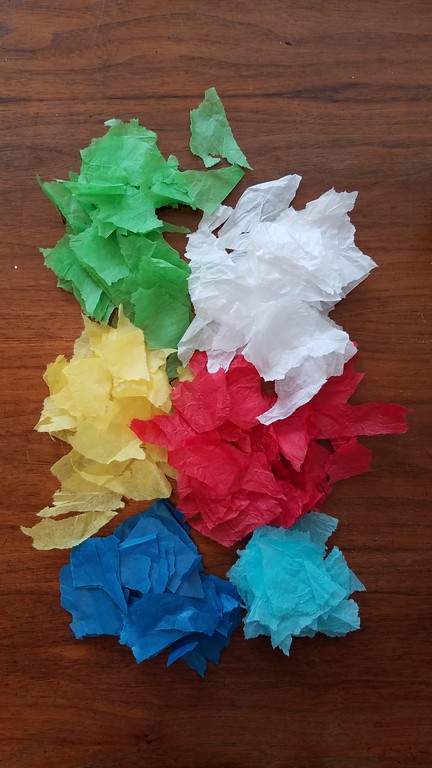
Rip up several pieces of tissue paper – any colors you have or want – into smaller pieces. They do not have to be the same size or shape. You can also cut the tissue paper into shapes (squares, triangles, flowers, hearts, etc.).
Put the bottom piece of wax paper on an ironing board. If you place it there before you make your design, there will be a smaller chance that your design will slip on the wax paper.
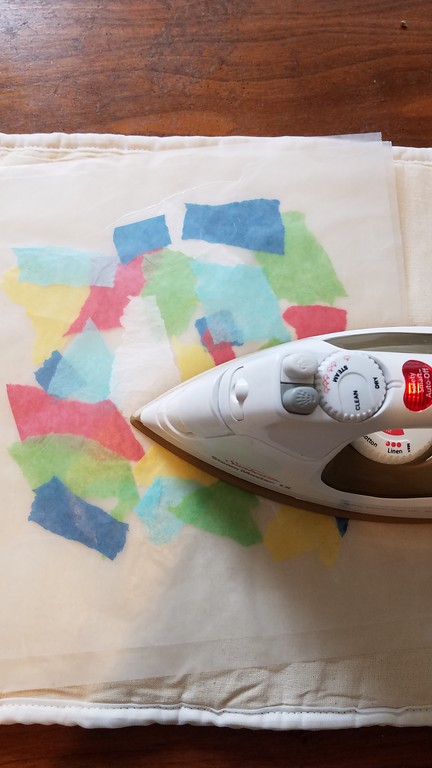
Place the tissue paper pieces on the wax paper in whatever pattern you wish. Be sure to leave some space between your tissue paper pieces so that the wax paper melts around your design, and the tissue paper doesn’t slip when you hang up your finished product.
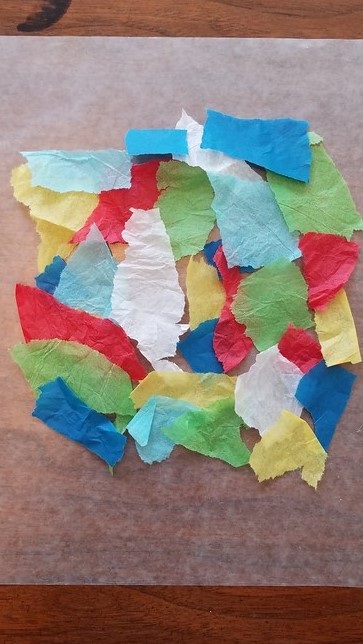
Put the other piece of wax paper on top of your finished picture or design.
It is now time to iron! You can iron directly onto the piece of wax paper, or you can put a paper towel between the iron and the wax paper. If you use your iron regularly on clothes, you may want to use the paper towel method, as the wax paper can leave a bit of a waxy residue on the iron. (You should be able to wipe it off with a paper towel.) If you choose to iron directly onto the wax paper, heat your iron to the lowest setting. If you choose the paper towel method, make sure your iron is slightly hotter, as the heat will have to travel through the paper towel to your wax paper.
Cut the wax paper into whatever shape you want your stained glass to be or leave it as it is. You can also use a black sharpie marker to make “lead lines” in between the colors, if you want your stained glass to look like real stained glass. Hang it in your window!
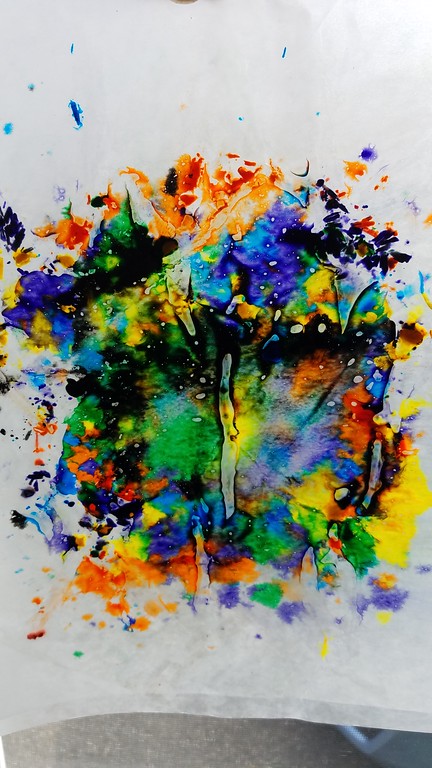
Crayon Shavings Stained Glass
Creating stained glass with crayon shavings is similar to creating it with tissue paper. The main difference is that the crayon wax may bleed through your wax paper onto your iron and your ironing board. Put a rag between the wax paper and the ironing board before you start, and keep an eye on the iron if you choose not to use the paper towel method. (We found that the paper towel method does not work great with this style of stained glass. The crayon shavings do not melt as well as they do without the paper towel, even when the heat is slightly higher on the iron. If you do get any wax on your iron, you should be able to carefully wipe it off with a paper towel while the iron is still hot.)
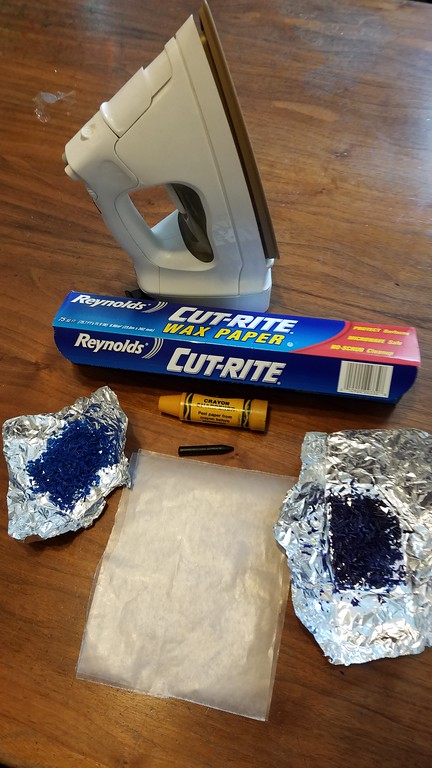
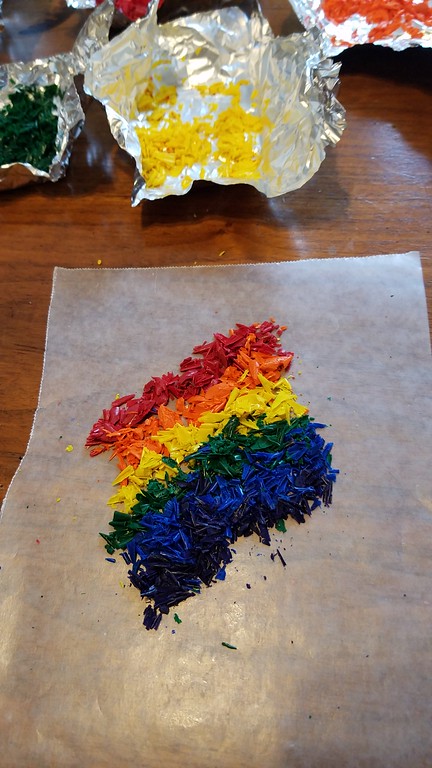
To prep, you will need to create crayon shavings. Choose the colors you want to use and peel off the crayon paper. Sharpen the crayons in a manual pencil sharpener and collect each color in a different container (small paper cup, or even a piece of tin foil).
Place the bottom piece of wax paper on the rag on the ironing board. Sprinkle crayon shavings on the wax paper. The shavings will melt and spread, so you do not need to cover the whole sheet with shavings. The thicker the pile of shavings, the longer you’ll have to iron, so try to keep it thin.
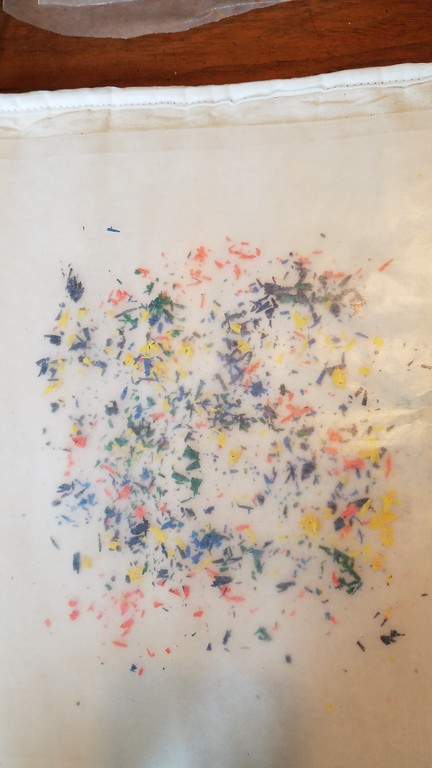
Place the top piece of wax paper on your design and start ironing.
Cut your wax paper down to whatever shape or size you desire. Hang it in your window!