
Sometimes, especially when winter’s starting to feel particularly long, you need some activities that are both educational and incredibly silly. Here are two ideas utilizing something you may have tucked away with birthday decorations, or that may be rolling around in your junk drawer: Balloons!
First, we’ll use a few balloons to make beautiful ice sculptures that will add some visual beauty to your winter landscape. While you’re waiting for your artwork to freeze, you can use another balloon and a few other materials to make a pompom popper!
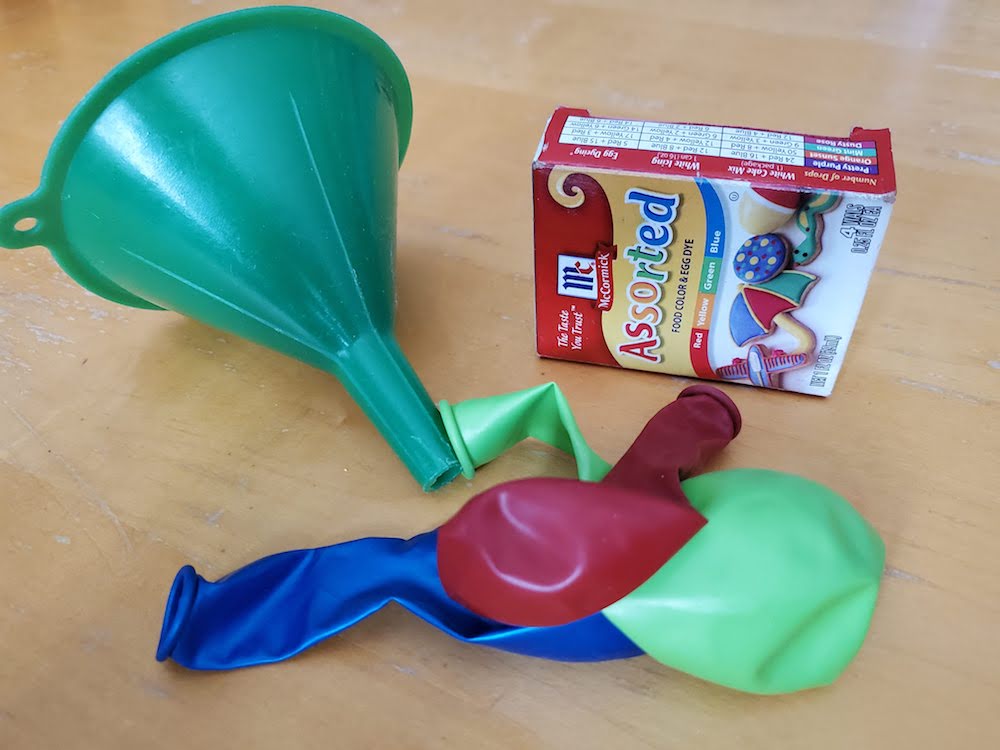
To make colorful ice sculptures, you’ll need some balloons, food coloring, a funnel, and water. You may also want to wear disposable gloves, as the food coloring may stain your hands for a few hours.
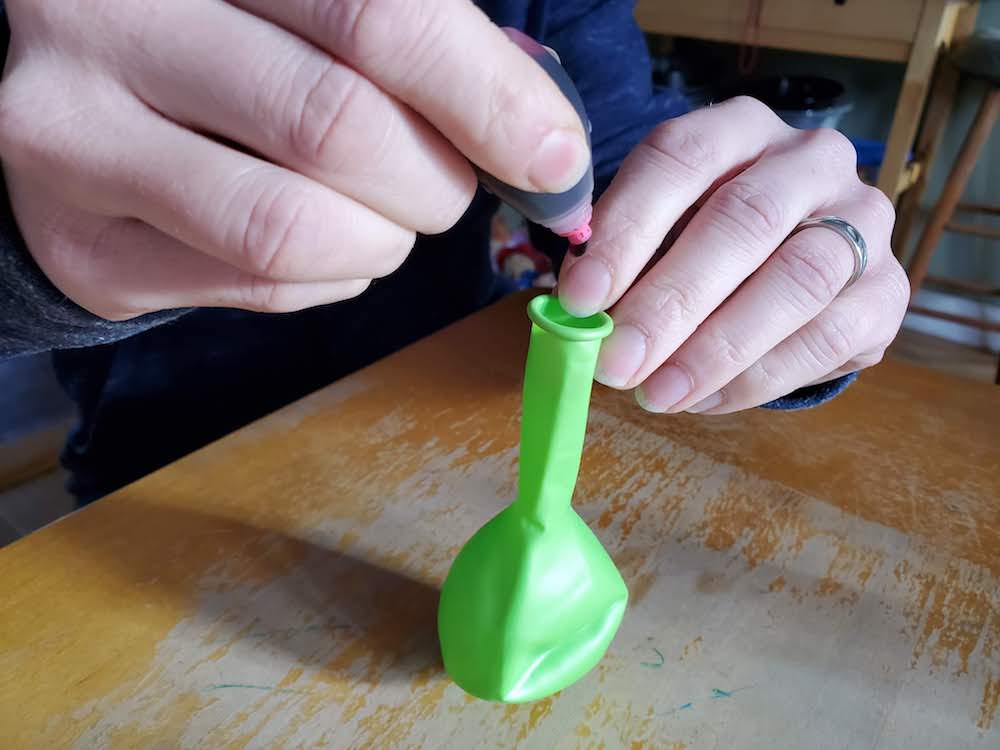
Carefully drop food coloring into a balloon. You don’t need much, 3-4 drops will probably be enough. (As you’ll see in a later photo, using too much food coloring results in an ice sculpture that basically just looks black.) Your kiddos can have fun experimenting with color combinations, though you won’t really know how they turn out until the end of the project. (Unless you use clear balloons, which would be fun if you have them!)
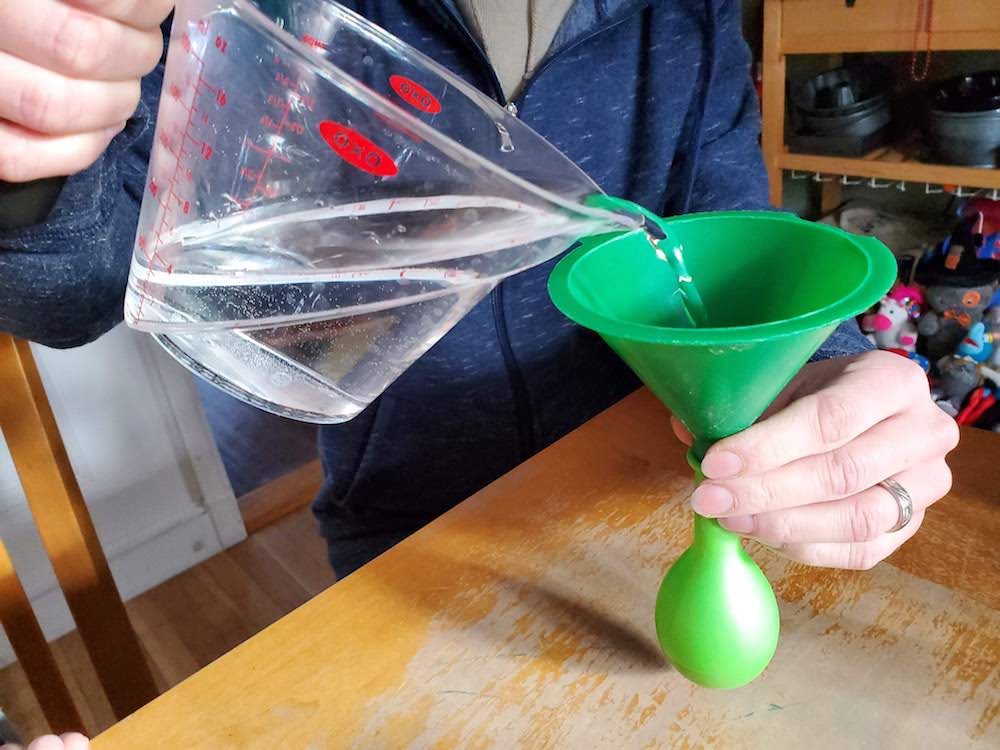
Though not shown in the photo, it was quickly discovered that this step is actually best done over the sink. Insert the small end of the funnel into the neck of the balloon and slowly pour water into the balloon. Only pour in enough water for the balloon to become round, you don’t need to get the balloon to actually expand at all. Remove the funnel and tie a knot to close the balloon. A little of the water will squeeze out, but that’s okay as long as the balloon stays relatively spherical. This is also the step where your fingers will be temporarily stained if you aren’t wearing gloves.
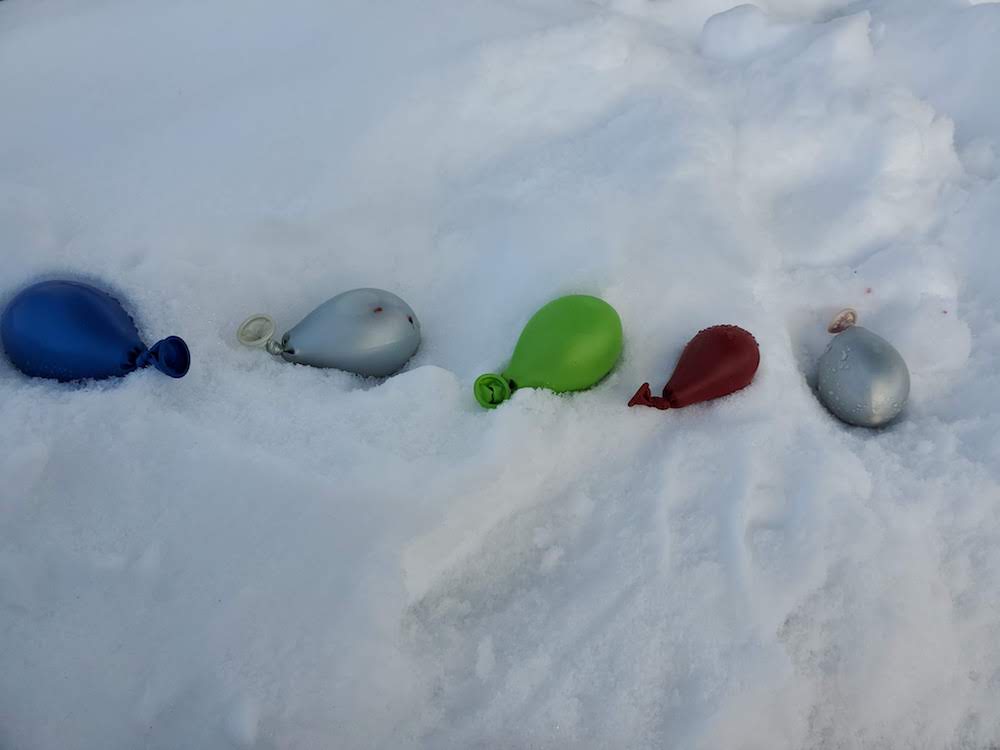
Freeze your balloons! These balloons were placed outside in the snow overnight. You could just as easily freeze these in your freezer if the weather doesn’t cooperate (or if you end up reading this blog post when it’s not wintertime).
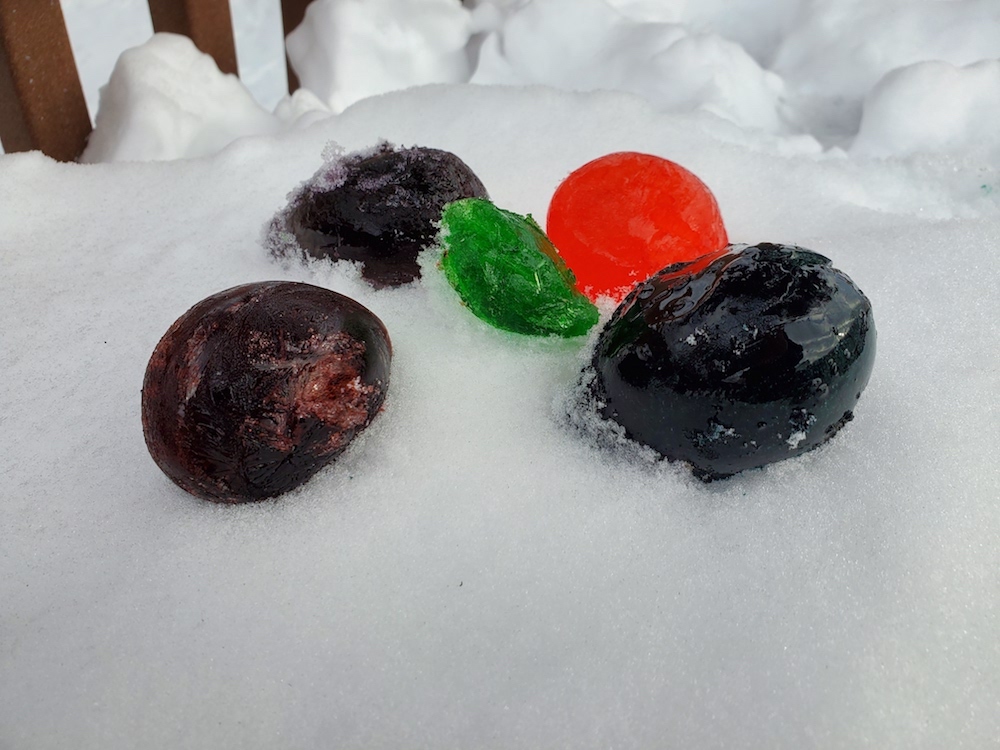
When your balloons are frozen, carefully cut the balloons off what should now be balls of ice. This is another point where you might want to wear disposable gloves, as there will be small amounts of unfrozen water still in the balloons that will stain your fingers. Now you’ve got some lovely frozen colored globes that can decorate your yard at least until the next thaw!
Now for another balloon experiment, this time one that’s much less messy!
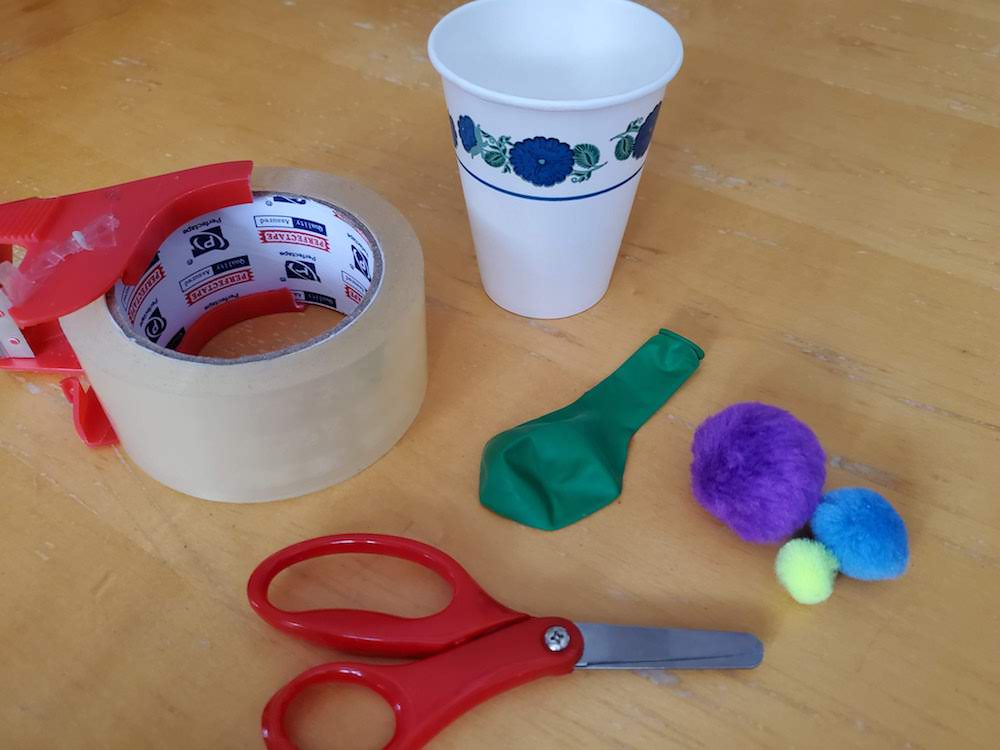
To make a pompom popper, you’ll need (at least) one balloon, a paper or plastic cup, clear packaging tape, scissors, and pompoms, cotton balls, rolled balls of aluminum, a ping pong ball, or something of the like.
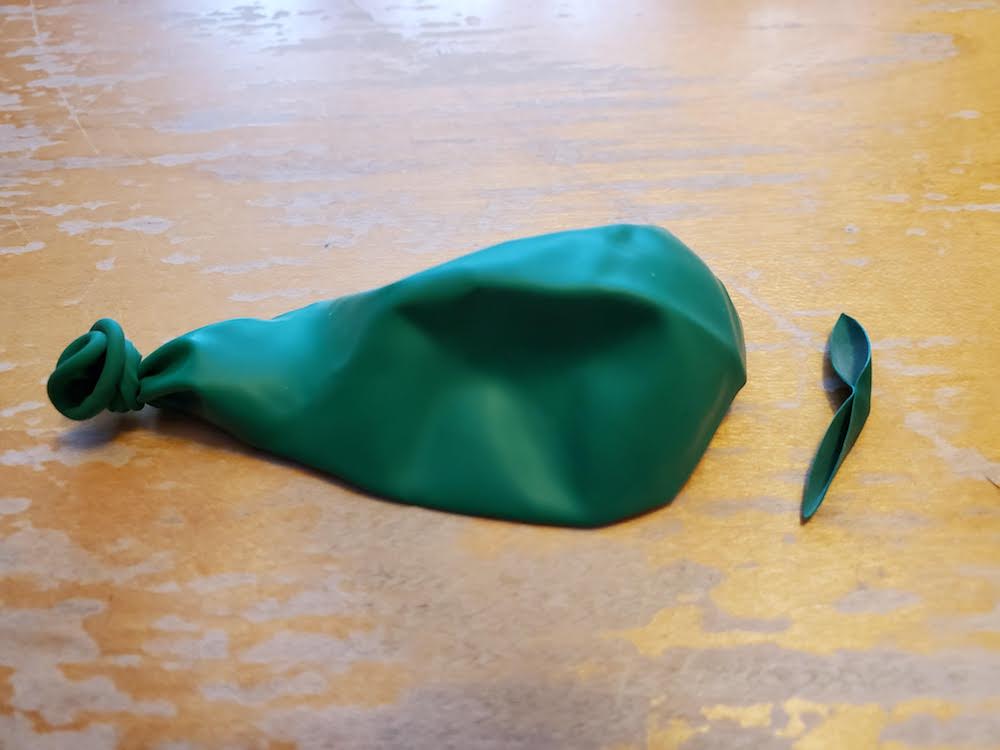
First, tie the end of the balloon like you would if you had blown it up (but don’t blow it up first!). Then cut off the round end of the balloon. Next, carefully cut out the bottom of your paper or plastic cup.
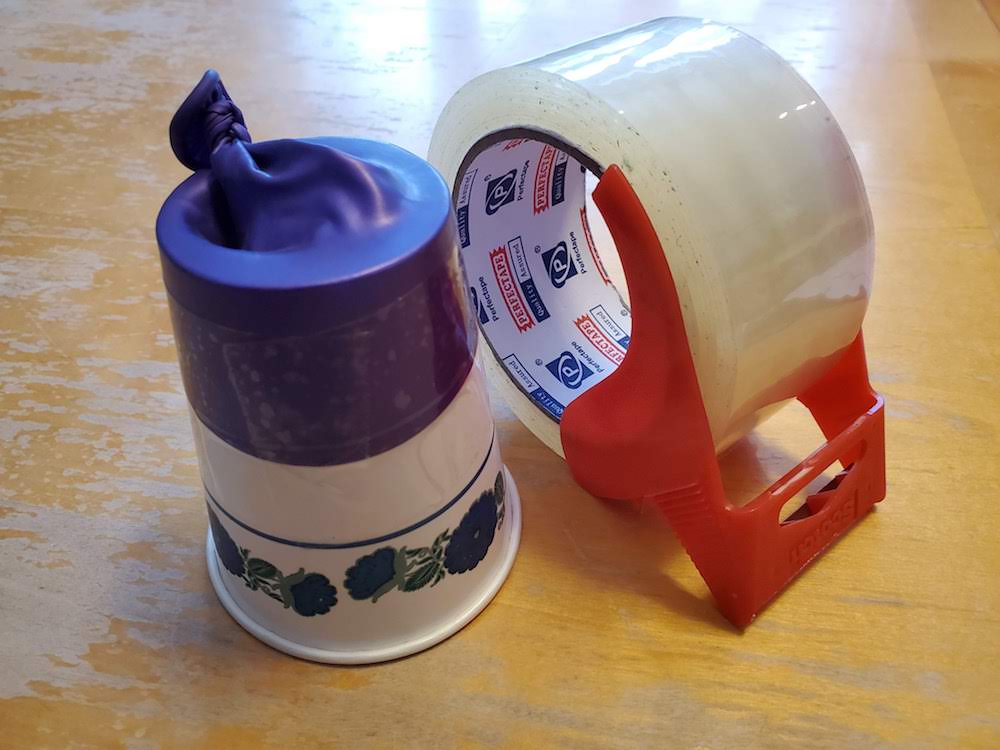
Next, carefully stretch the cut section of the balloon over the end of the now-bottomless cup. The cut end of the balloon is slightly fragile and can tear, so don’t stretch it any more than you have to. And if it does tear, use a new balloon. (You may notice that the first balloon in these photos was green and now the balloon is purple. Even the “experts” tear their balloons.) Secure the balloon onto the cup with tape.

Your popper is now ready! Place your pompom (or similar object) in the bottom of the cup. Stretch back the knot of the balloon, release, and watch your pompom fly!
Wondering how to make this a little more “educational?” You can discuss different types of energy: when you pull back the balloon you’ve got potential energy, which becomes kinetic energy when you release it. You can discuss angles, trajectory, and gravity by aiming your pompoms in different directions. You can mark your floor with tape to measure how far your pompoms pop, then find the average distance traveled by measuring a bunch of pops. The learning possibilities are both numerous and fun!
If you end up with lots of leftover balloons, or are just looking for more stories with balloons in them, check out some of the ideas on our booklist!