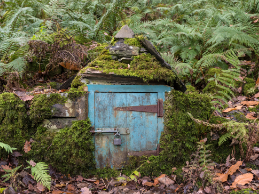
Are you thinking about making a fairy house this spring or summer? Why not include a door? This fun craft idea comes from Low-mess Crafts for Kids: 72 Projects to Create Your Own Magical Worlds by Debbie Chapman. She uses colored craft sticks in her version; we used natural wood jumbo craft sticks (so our door is slightly wider).
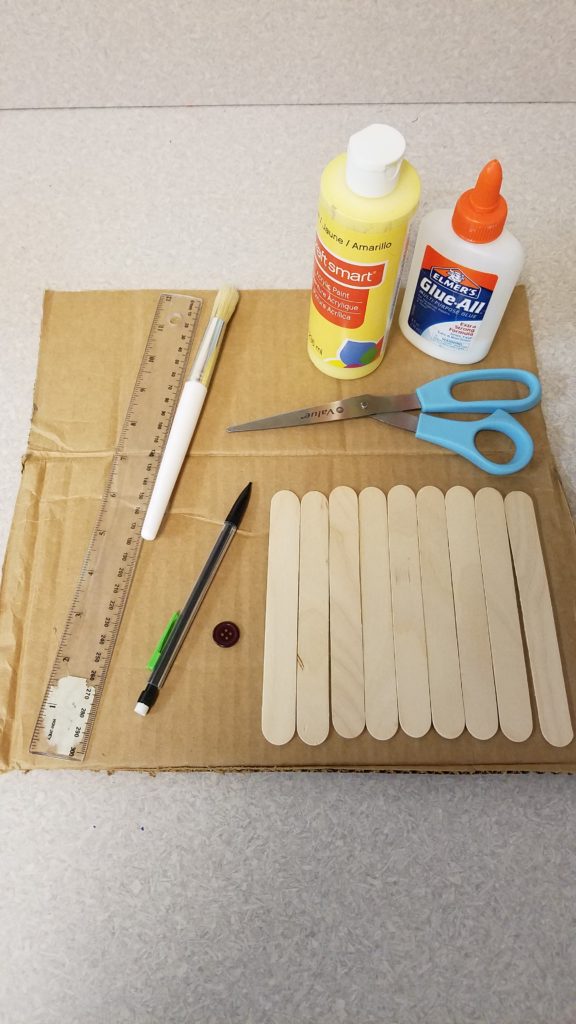
What you will need:
- 9 jumbo craft sticks (or 6 regular sized craft sticks)
- 1 button
- White glue (such as Elmer’s)
- Paint or marker
- Scissors
- Pencil
- Ruler
The instructions for either kind of stick are the same, except for the lengths of the cut sticks.
For jumbo craft sticks:
- Measure and mark two craft sticks at 4 ¼ inches. Cut them at the mark. We will refer to these are your “cut craft sticks” below.
- Cut one stick so that it is 5 ¼ inches long at the longest point (we found that it was easiest to position this stick on top of 6 lined up craft sticks so that we could find the exact angle that the stick needed to be on the right side). We will refer to this as your “angled craft stick” below.
For regular craft sticks:
- Cut one stick in half. We will refer to these pieces as your “cut craft sticks” below.
- Cut one stick so that it is 3 ½ inches long at the longest point (we found that it was easiest to position this stick on top of 6 lined up craft sticks so that we could find the exact angle that the stick needed to be on the right side). We will refer to this as your “angled craft stick” below.
For all craft sticks:
- Paint your sticks (or color with a marker). The cut sticks only need to be painted on one side, but the uncut sticks should be painted on both sides. Let them dry!
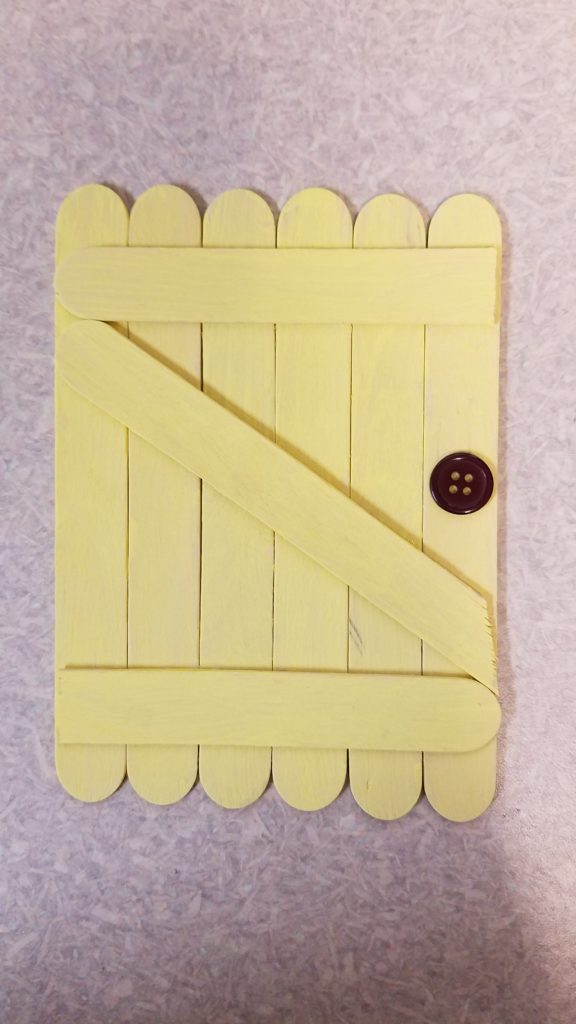
- Line your six uncut sticks up side by side so that the tops and bottoms are lined up evenly.
- Put glue on one of your cut craft sticks, and lay it on top of the six lined-up sticks, about ½ inch front the top. At this point, before the glue dries, you can fix the six sticks so that they are once again lined up on top and bottom (in case they moved).
- Put glue on your angled craft stick, and place it diagonally across the six craft sticks, with the curved end touching the cut craft stick, and the cut end on the right side of the six craft sticks.
- Put glue on the last cut craft stick, and place it about ½” from the bottom of the door, with the curved end touching the cut end of the diagonal piece.
- Put a dab of glue onto the back of a button, and place it on the right side of the door, about halfway between the top horizontal stick and the angled craft stick.
Want to learn more about making a fairy house? Check out these great books!
Skip to End of Carousel